Granny Square Patterns
The timeless granny square reimagined. Classic to modern colorways.
Yarn
Worsted (#4)
Hook
5mm (H)
The Humble Granny Square
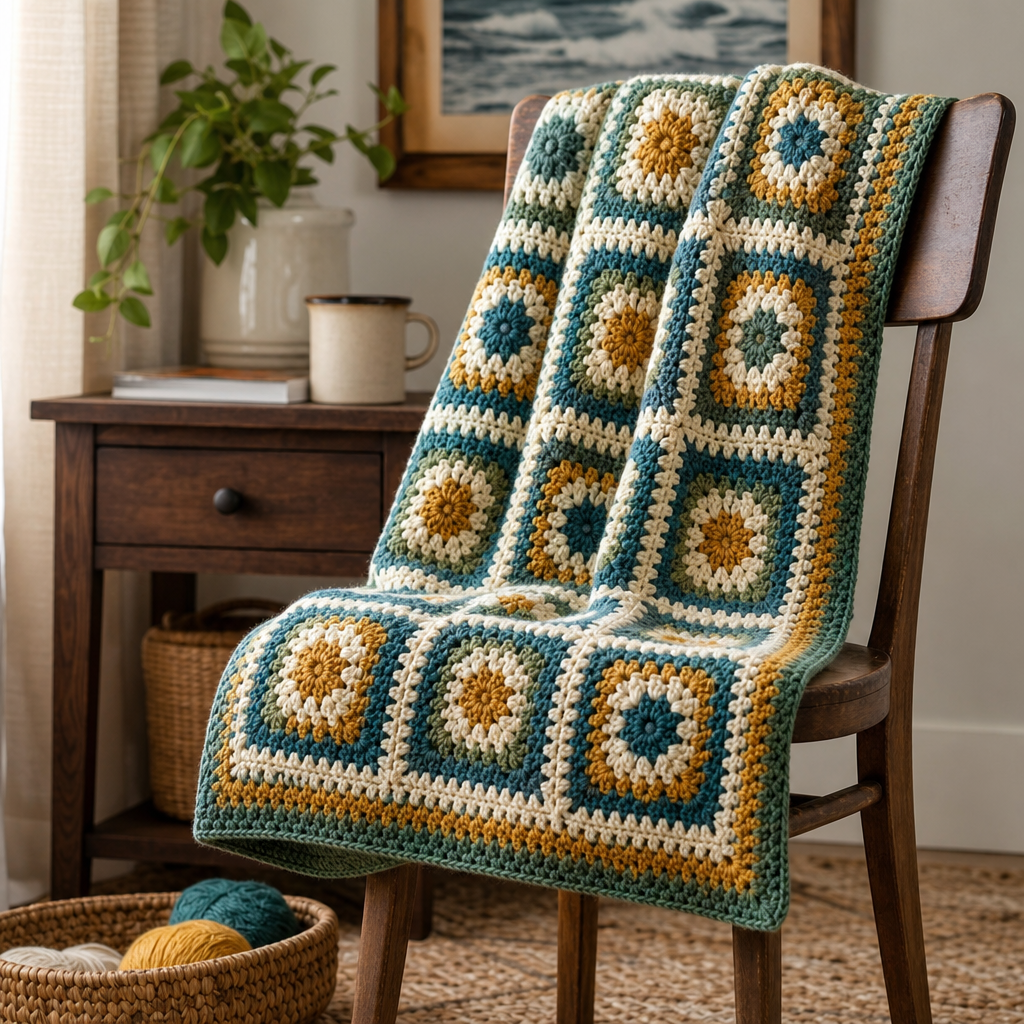
Granny squares have been a crochet staple for generations, and their popularity shows no sign of fading. These versatile motifs can be combined into blankets, bags, cardigans, and even coasters. The basic granny square pattern uses only chain stitches and double crochet, making it one of the most beginner-friendly patterns in crochet.
With over 40,500 monthly searches, granny square patterns remain one of the most popular crochet topics online. Their appeal lies in their simplicity, portability, and the infinite color combinations possible.
Classic Granny Square Pattern (Step by Step)
Round 1: The Center
Start with a chain-4 ring (or magic ring for a tighter center). Chain 3 (counts as first double crochet), then work 2 more double crochet into the ring. Chain 2, then work 3 double crochet into the ring. Repeat [chain 2, 3 double crochet] three more times for a total of 4 clusters. Chain 2 and slip stitch to the top of the starting chain-3 to close the round. You now have 4 corner spaces.
Round 2: Building Out
Slip stitch into the nearest chain-2 corner space. Chain 3, work 2 double crochet in the same corner space. Chain 2, work 3 more double crochet in the same corner space (this creates the corner turn). Chain 1, then in the next corner space work [3 dc, ch 2, 3 dc]. Repeat around. Slip stitch to close. Your square now has 4 sides with chain-1 spaces between corners.
Round 3 and Beyond
Continue the pattern: in each corner space work [3 dc, ch 2, 3 dc], and in each side space (chain-1 between corners) work [3 dc, ch 1]. Each round makes the square larger. Most squares are finished after 4 to 6 rounds, measuring 4 to 6 inches across.
Color Changing Techniques
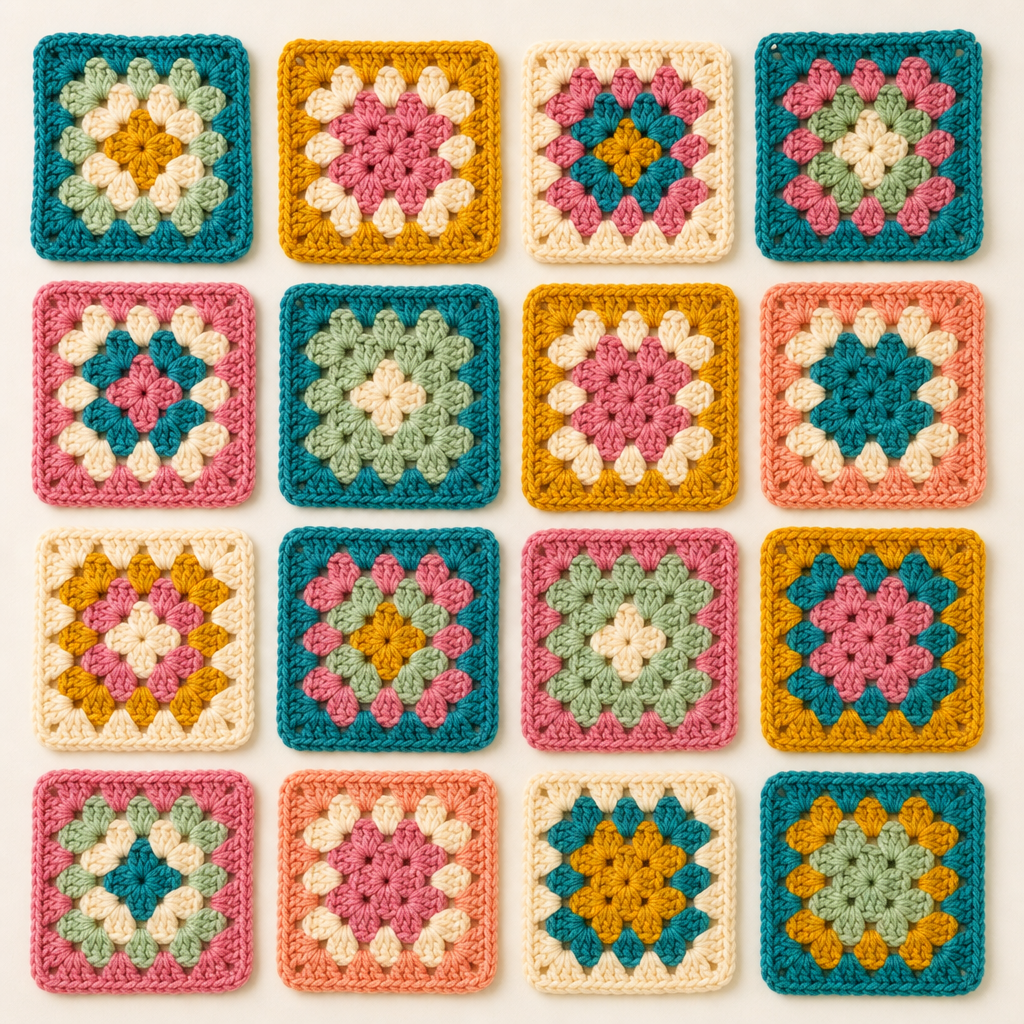
Change colors between rounds for a polychromatic effect. Weave in ends as you go by working over them with the next round. For a seamless look, change colors in the slip stitch that joins each round. Here are popular color strategies:
- Solid color: One color throughout. Clean and modern.
- Two-tone: Alternate colors every round for a striped effect.
- Ombre: Use shades of the same color family, going from light to dark.
- Rainbow: A different color for each round of every square.
- Scrap yarn: Use leftover yarn from other projects. No two squares alike.
Modern Granny Square Variations
Solid Granny Square
Instead of clusters with chain spaces, work single crochet stitches in every stitch around. This creates a dense, warm fabric perfect for bags and pillows. The solid square is stronger and has no holes, making it suitable for items that need structure.
Sunburst Granny Square
Start with a puff stitch center (yarn over, insert hook, pull up loop, repeat 3 times, then yarn over and pull through all loops). Then add a round of clusters, then a round of double crochet. The layered texture creates a sunburst effect that looks stunning in contrasting colors. This is one of the most popular variations on Pinterest.
African Flower Hexagon
A hexagonal variation that tessellates beautifully. The center starts with a single crochet circle, followed by rounds of petals made with dc and tr. Join hexagons for blankets with a honeycomb pattern. The African flower is extremely popular for amigurumi animal blankets.
Granny Square Circle
Work the granny pattern in rounds without corners, creating a flat circle. This is perfect for rugs, table runners, and round blankets. Increase by 12 stitches per round to keep the circle flat.
Joining Methods
The way you join your squares dramatically affects the final look of your project:
- Whip stitch join: Sew squares together with a tapestry needle, working through back loops only for a flat seam. This is the most common and durable method.
- Join-As-You-Go: Crochet the final round of each square directly into the adjacent square. No sewing required. This creates a decorative ridge between squares.
- Slip stitch join: Use a contrasting color and slip stitch squares together for a decorative visible seam. Popular in boho-style blankets.
- Continuous join: A method of joining all squares in one continuous motion without cutting yarn. Efficient for large blankets.
- Single crochet join: Work single crochet through both squares for a raised, textured seam. Adds extra warmth.
How Many Granny Squares Do I Need?
For a standard throw blanket (48 x 60 inches) using 6-inch squares, you need approximately 80 squares arranged 8 wide by 10 long. For a baby blanket (36 x 36 inches), you need about 36 squares (6 x 6). Always make one extra square as a test.
Granny Square Project Ideas Beyond Blankets
- Tote bag: Join 6 squares for the front and back, add a fabric lining and handles.
- Cardigan: Join rectangles of granny squares for a boho-style cardigan.
- Pillow cover: Join 2 large squares and attach to a pillow form.
- Coasters: Make 2-round mini granny squares as quick coasters.
- Earrings: Use thread and a 1.5mm hook for tiny granny square earrings.
Tips for Perfect Granny Squares
- Use a stitch marker to mark the first stitch of each round.
- Keep your tension consistent across all squares so they are the same size.
- Block your squares before joining for perfect alignment.
- Carry colors cleanly by working over yarn tails as you stitch.
- Start with a magic ring instead of a chain-4 ring for a gap-free center.