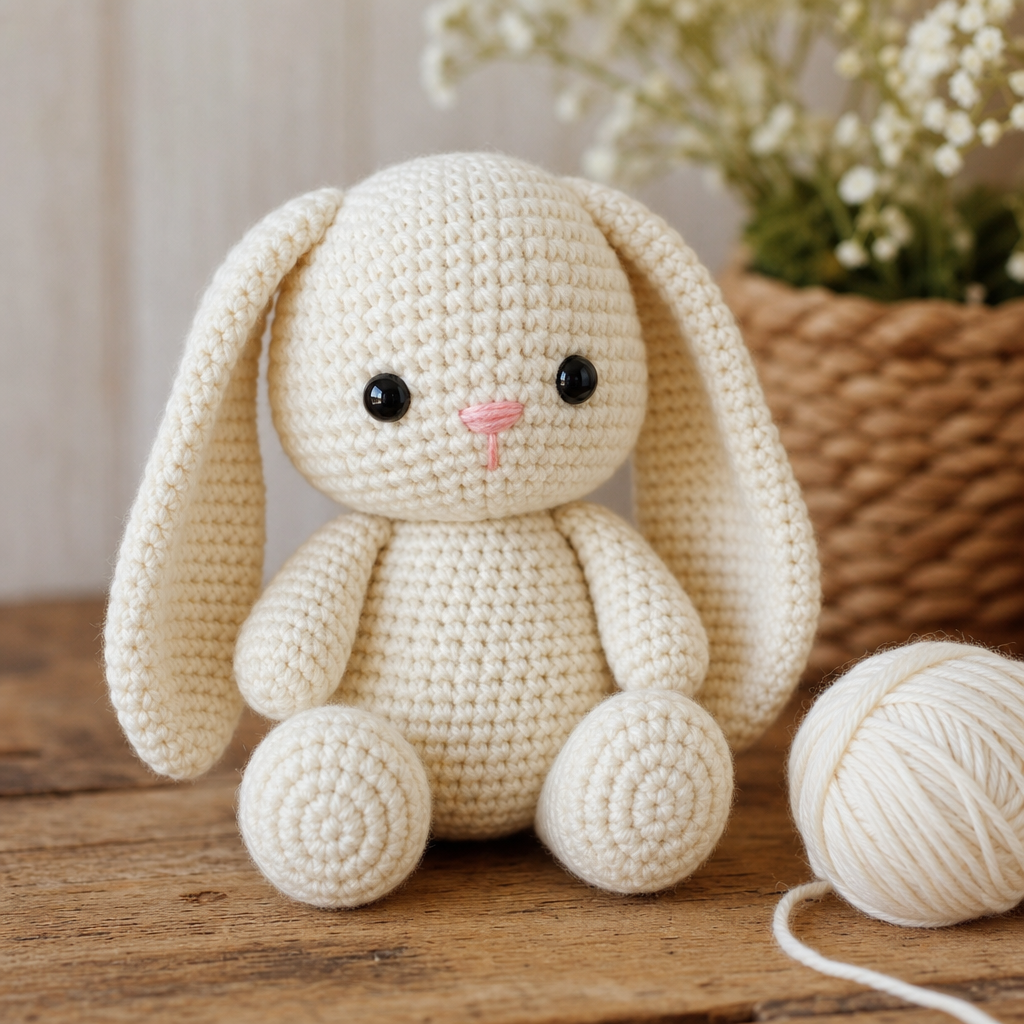
Amigurumi Crochet Patterns
Cute stuffed toys and crochet creatures. Start simple and build your amigurumi skills.
Yarn
Worsted (#4)
Hook
3.5mm (E)
Getting Started with Amigurumi
Amigurumi is the Japanese art of crocheting small, stuffed yarn creatures. The word comes from ami (crocheted or knitted) and nuigurumi (stuffed doll). These adorable projects have taken the crochet world by storm, and for good reason - they are quick to make, use small amounts of yarn, and make wonderful gifts.
With 12,100 monthly searches for amigurumi patterns, this is one of the fastest-growing categories in crochet. The term has over 6.6 million posts on Instagram, and amigurumi patterns dominate Etsy's crochet category.
Essential Amigurumi Techniques
The Magic Ring (Adjustable Ring)
The magic ring is the foundation of all amigurumi. Instead of starting with a chain, you create a loop of yarn that can be tightened after working your first round. This eliminates the hole left by a starting chain. To make a magic ring: wrap yarn around your index finger twice, insert hook under both loops, pull up a loop, chain 1, then work your single crochets into the ring. Pull the tail to close.
Invisible Decrease
Standard decreases in amigurumi create a visible gap. The invisible decrease fixes this by working only into the front loops of two stitches (instead of both loops). Insert hook into front loop of next stitch, then front loop of following stitch, yarn over and pull through all 3 loops. The result is nearly invisible.
Working in Continuous Spirals
Unlike most crochet projects, amigurumi is worked in continuous spirals without joining rounds with a slip stitch. This creates a seamless fabric. Use a stitch marker to track the first stitch of each round. Never chain 1 at the start of a round.
Safety Eyes
These plastic eyes have a washer backing that locks them in place permanently. They give your creatures a professional look. Always attach safety eyes before the head is stuffed and closed, typically around rounds 8-10 of a head pattern. Size 6mm to 12mm is most common.
Standard Amigurumi Sphere Pattern
The sphere is the building block of all amigurumi. Heads, bodies, and limbs all start with this shape:
- Round 1: 6 sc in magic ring (6 stitches)
- Round 2: 2 sc in each stitch around (12 stitches)
- Round 3: [1 sc, 2 sc in next] repeat 6 times (18 stitches)
- Round 4: [2 sc, 2 sc in next] repeat 6 times (24 stitches)
- Round 5: [3 sc, 2 sc in next] repeat 6 times (30 stitches)
- Continue increasing by 6 stitches per round until desired width.
- Work even rounds (no increases) for the body of the sphere.
- Decrease: [3 sc, invisible decrease] repeat, then [2 sc, dec], then [1 sc, dec], then [dec] around.
- Stuff firmly before closing the final round.
Easy Amigurumi Patterns for Beginners
Simple Sphere Bunny
This beginner-friendly pattern uses only single crochet in a spiral. Start with a magic ring of 6, increase to 30 stitches, work even for 8 rounds, then decrease to close. Add ears made from chain-20 folded in half with single crochet. The finished bunny is about 4 inches tall and takes about 90 minutes.
Mini Octopus
A quick 45-minute project. The body is a simple sphere (6 to 24 stitches, work even 6 rounds, decrease to close). The eight tentacles are made by chaining 20 and working single crochet back along the chain for each one. Attach evenly around the bottom of the body. Add 8mm safety eyes.
Crochet Cat Amigurumi
Body: Work a sphere from 6 to 30 stitches, work even 10 rounds, stuff and decrease. Head: Sphere from 6 to 36 stitches, work even 6 rounds. Add triangle ears (chain 4, dc, dc, dc, chain 1). Sew head to body. Add whiskers with embroidery floss.
Yarn and Hook Recommendations
For amigurumi, cotton yarn works better than acrylic because it creates a firmer fabric that holds its shape. Premier Cotton Fair and Lion Brand 24/7 Cotton are popular choices. Use a 3.5mm (E) hook with worsted cotton for standard projects.
For tiny amigurumi (keychains, ornaments), use fingering weight cotton yarn and a 2mm hook. For giant amigurumi (floor pillows), use super bulky yarn and a 10mm hook.
For stuffing, look for polyester fiberfill. A small bag will stuff dozens of projects. Avoid cotton stuffing as it clumps after washing. Use the handle of a crochet hook to push stuffing into small spaces like limbs.
Tips for Perfect Amigurumi
- Use a smaller hook than recommended. If the yarn says 5mm, use 3.5mm. Tight stitches prevent stuffing from showing through.
- Count every stitch. Amigurumi shaping depends on exact stitch counts. One wrong stitch changes the entire shape.
- Stuff firmly but not tight. The piece should feel like a firm pillow, not a rock. Over-stuffing stretches stitches and creates gaps.
- Pin pieces before sewing. Use sewing pins to position arms, legs, and ears before attaching. Check symmetry from all angles.
- Use a tapestry needle with a blunt tip. A sharp needle splits yarn. A blunt needle slides between stitches for clean joins.
- Take photos at each stage. When you need to assemble, photos help you remember which piece goes where.
Frequently Asked Questions
What does amigurumi mean?
Amigurumi is a Japanese compound word: ami (crocheted or knitted) plus nuigurumi (stuffed doll). It refers to the art of making small stuffed creatures using yarn.
What yarn is best for amigurumi?
Cotton yarn is ideal because it creates a firm, structured fabric. Avoid fuzzy or textured yarns for your first projects because they make it hard to see your stitches. Use worsted weight (#4) cotton with a 3.5mm hook.
How long does it take to make amigurumi?
Simple projects take 1 to 2 hours. Intermediate patterns take 3 to 5 hours. Complex articulated dolls with removable clothing can take 15 to 30 hours.